I did one or two posts like this a while back, but I thought it was time to do one again for the new website and blog. This is a little behind-the-scenes look at the final adjustments I make to images before delivering a finished product.
I describe my editing style as true-to-life. My goals during the editing process are to bring out vibrant, natural colors, emphasize dark shadows and bright highlights to give images depth, and most of all, to make my subjects stand out. A true-to-life style also means I work to capture you as you are, so you won’t see extensive retouching or “Photoshopping” in my edits.
Take a look at the sets of images below to see how post-processing really brings your images to life!
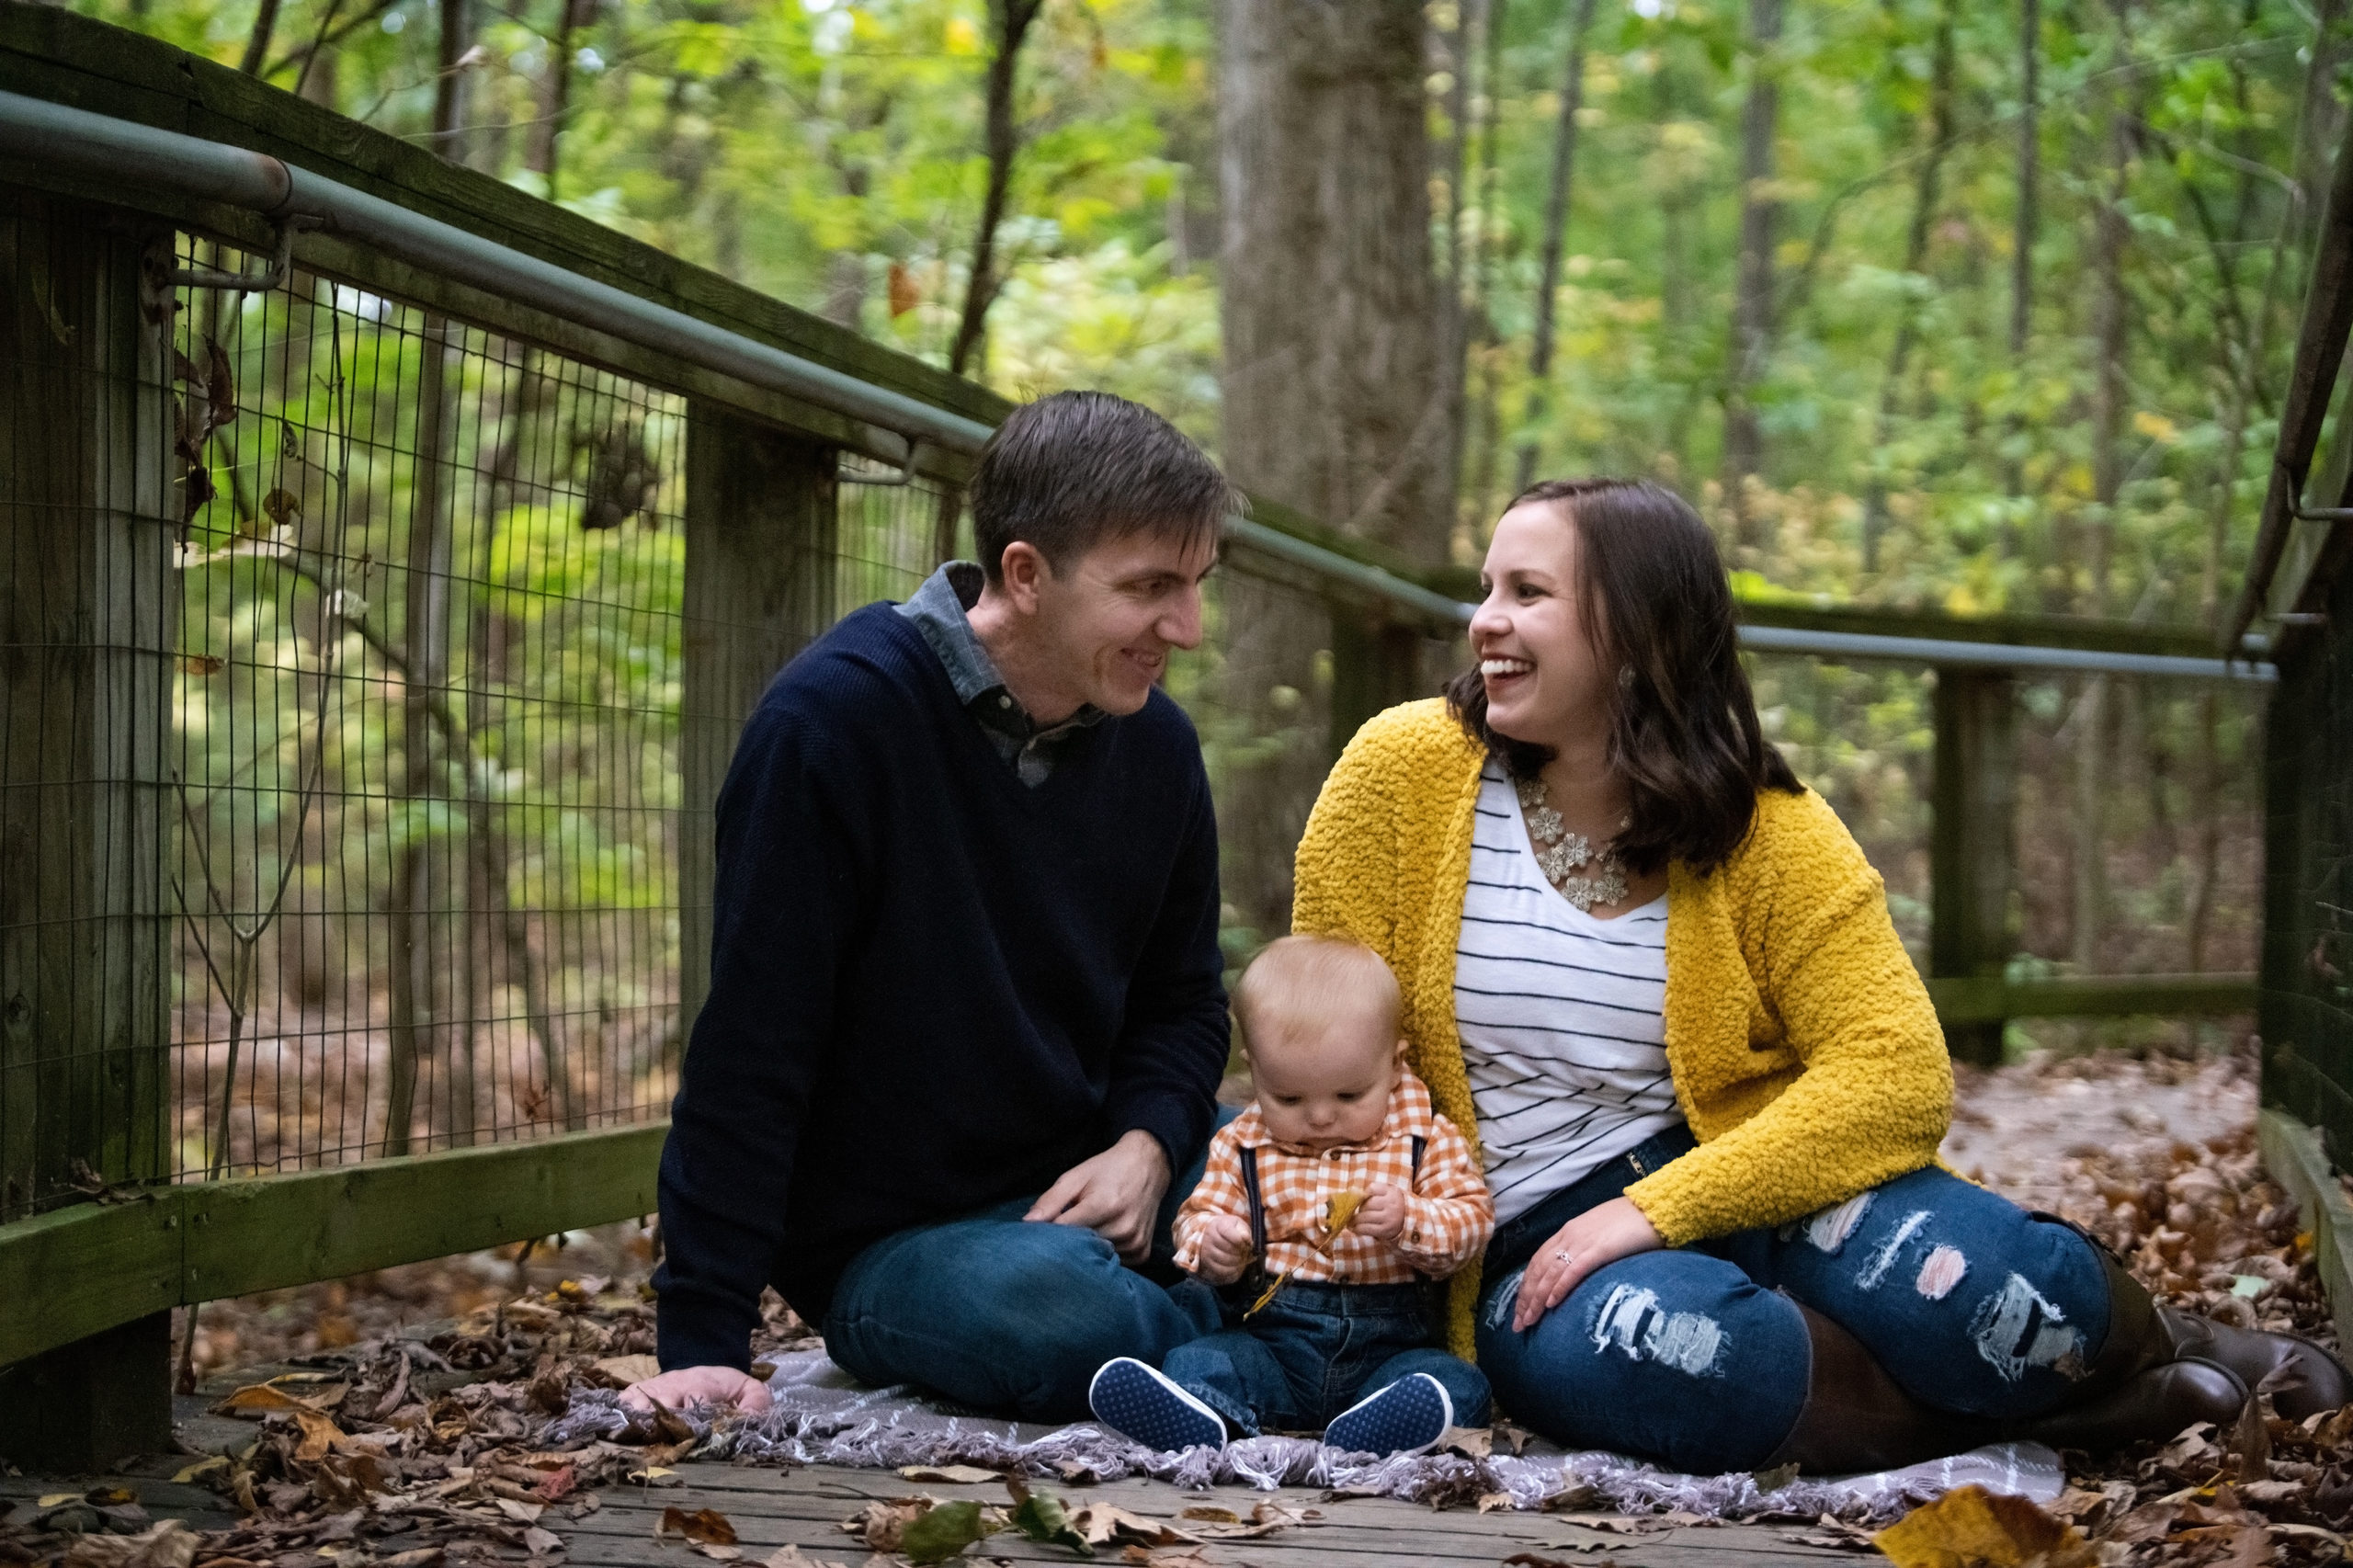
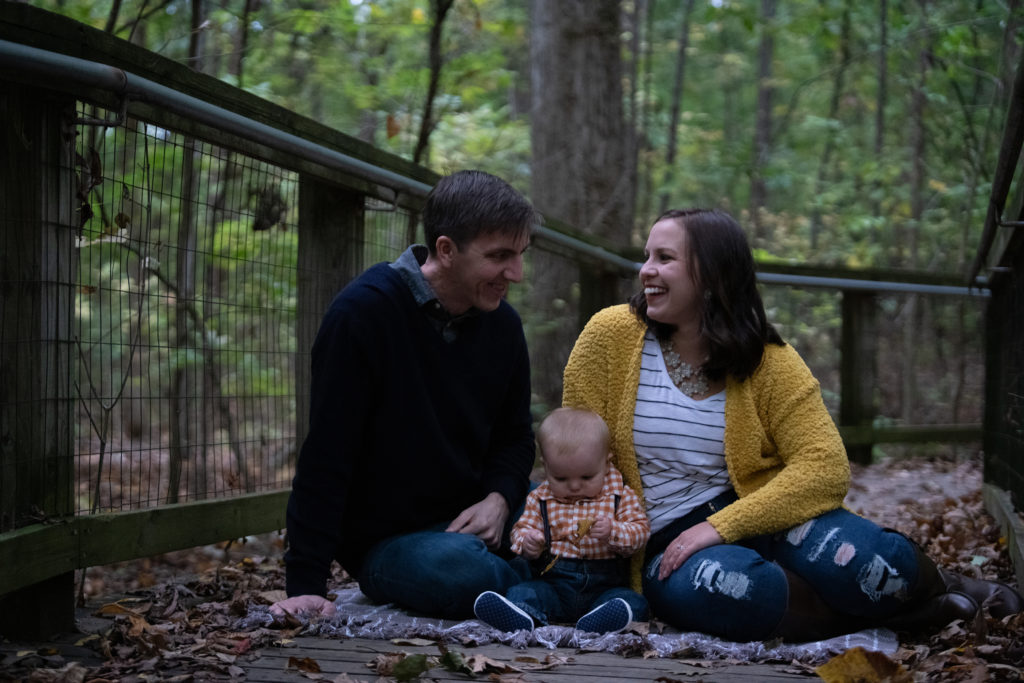
Fall Family Photo at Lindenwood
As much as I try to get things right in-camera as I’m shooting, it doesn’t always happen. I caught a great moment here, but the original image is dark and flat. The changes to this one are pretty obvious: the edited image is much brighter and a bit warmer.

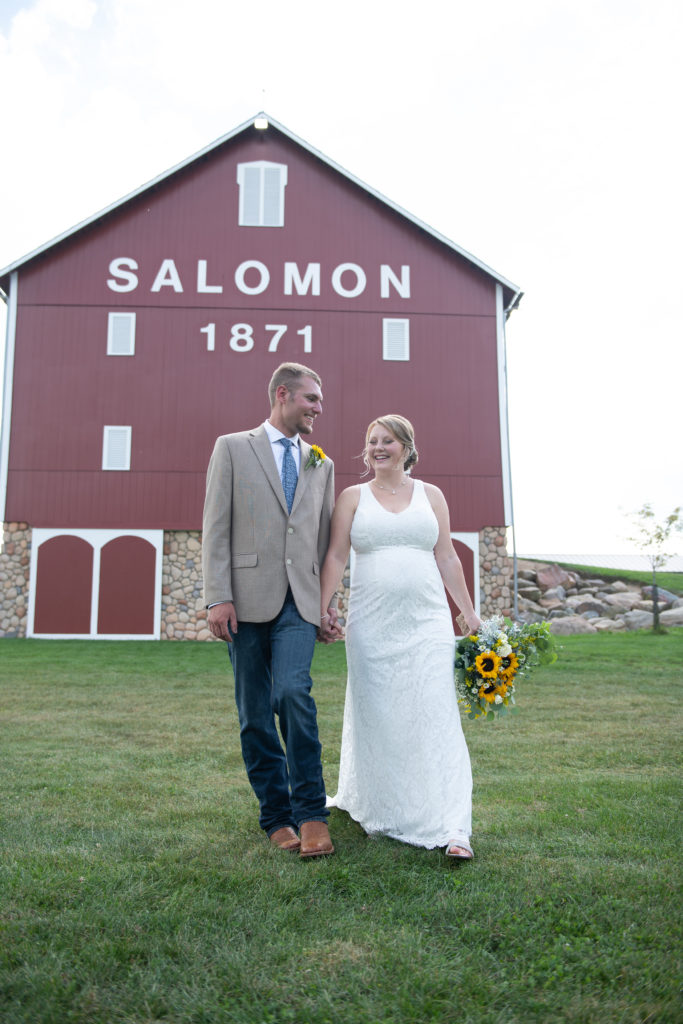
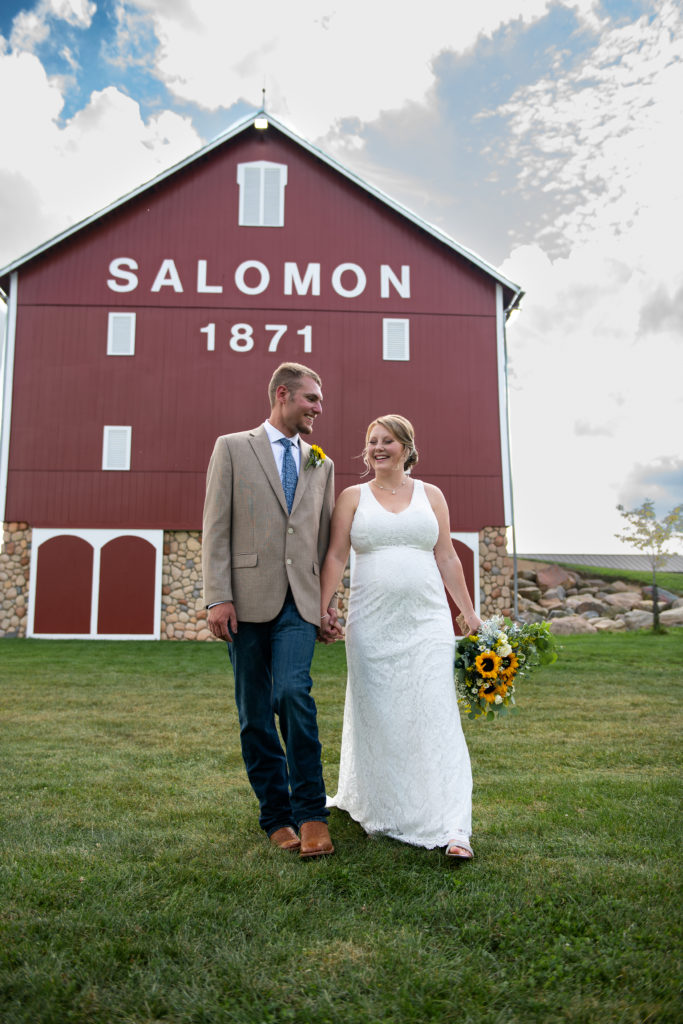
Bride and Groom at Salomon Farm Barn
The biggest change I made to this image is in the sky. It was a sunny day (with some cloud cover), and the sky was so bright it was completely blown out when I exposed the subjects correctly. I adjusted the sky separately from the rest of the image so I could bring down the exposure to get the detail back without losing the subjects. You’ll also see some added dimension, vibrance, and warmth in the final edit.
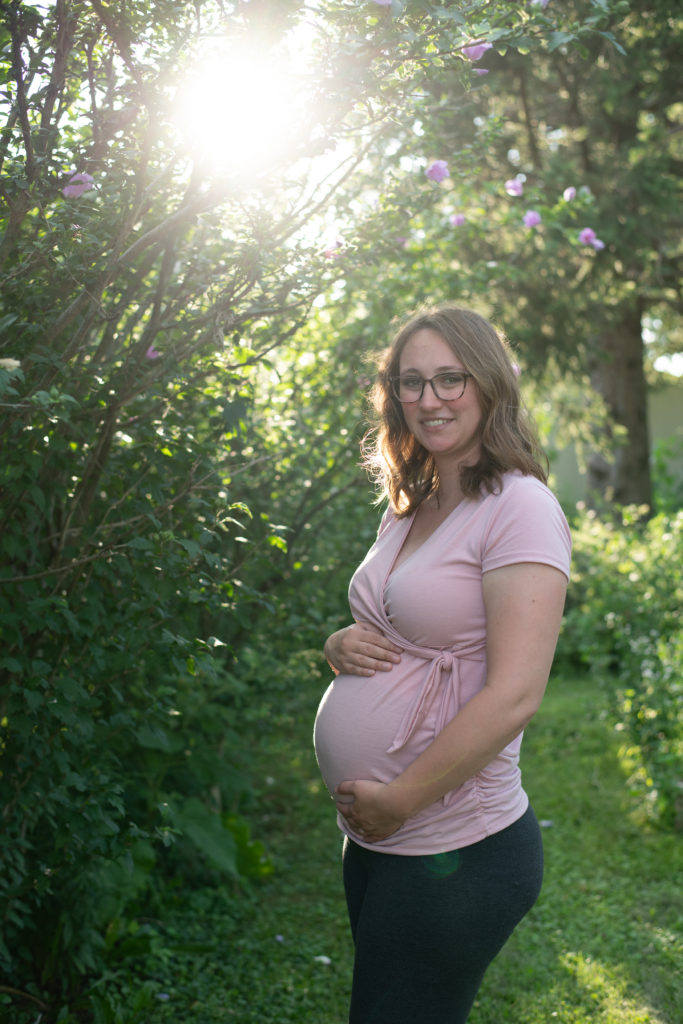
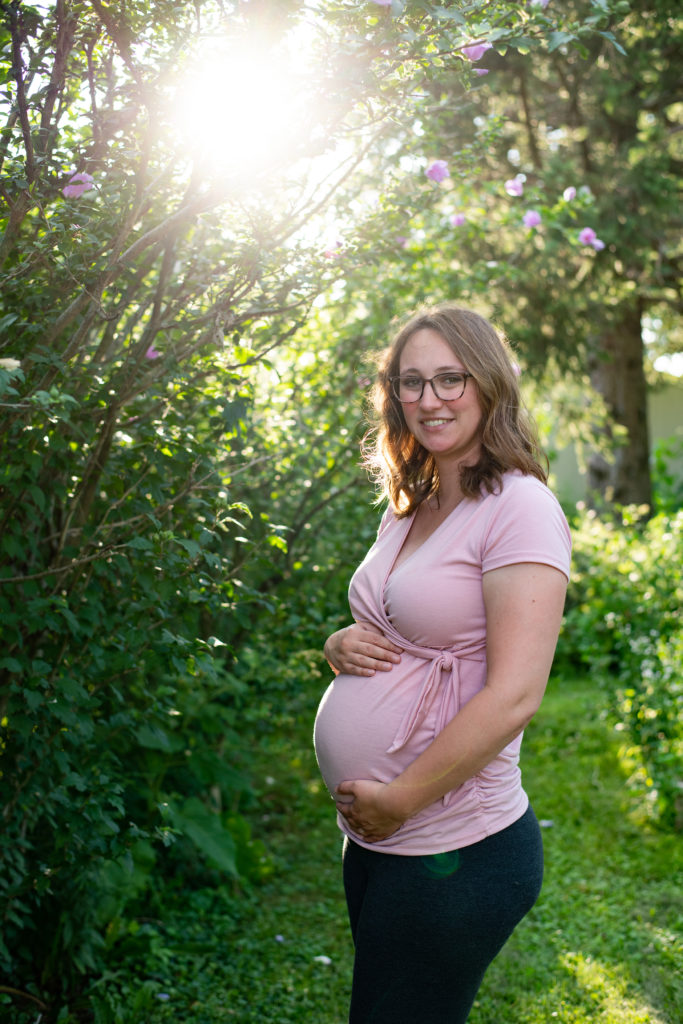
Summer Evening Maternity Portrait
Look, there’s me at 25 weeks pregnant with our baby girl! The light was gorgeous in our backyard that evening, and I got a pretty good image to start with. For this one, editing involved getting rid of the haze caused by the sunburst behind me, adding some depth and contrast in the shadows and highlights, brightening the subject, and getting rid of the greenish color cast caused by the plants.
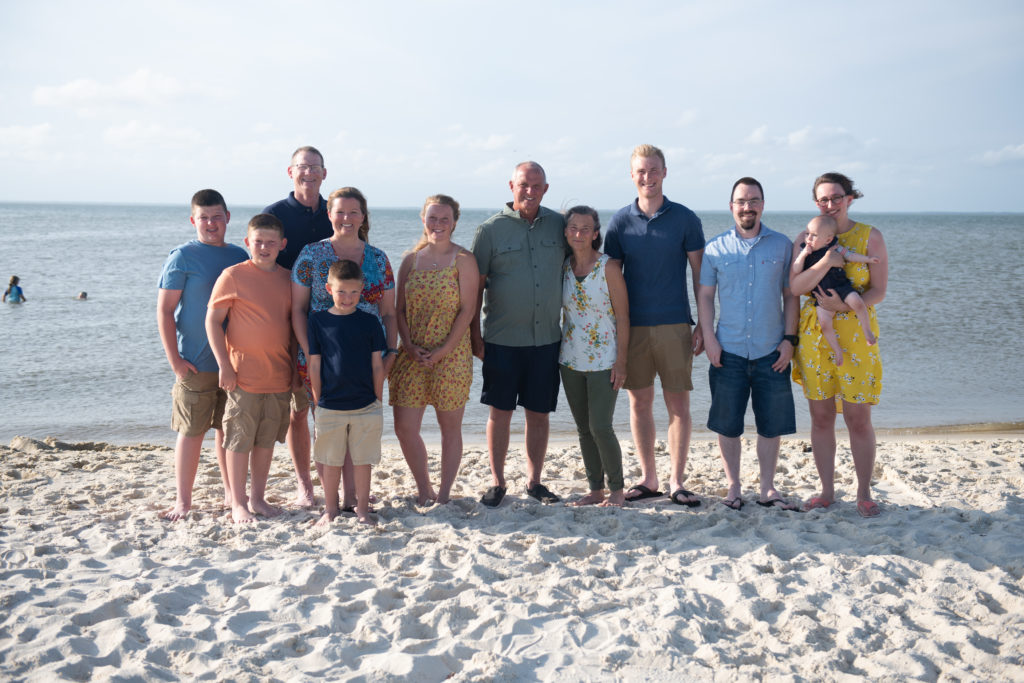
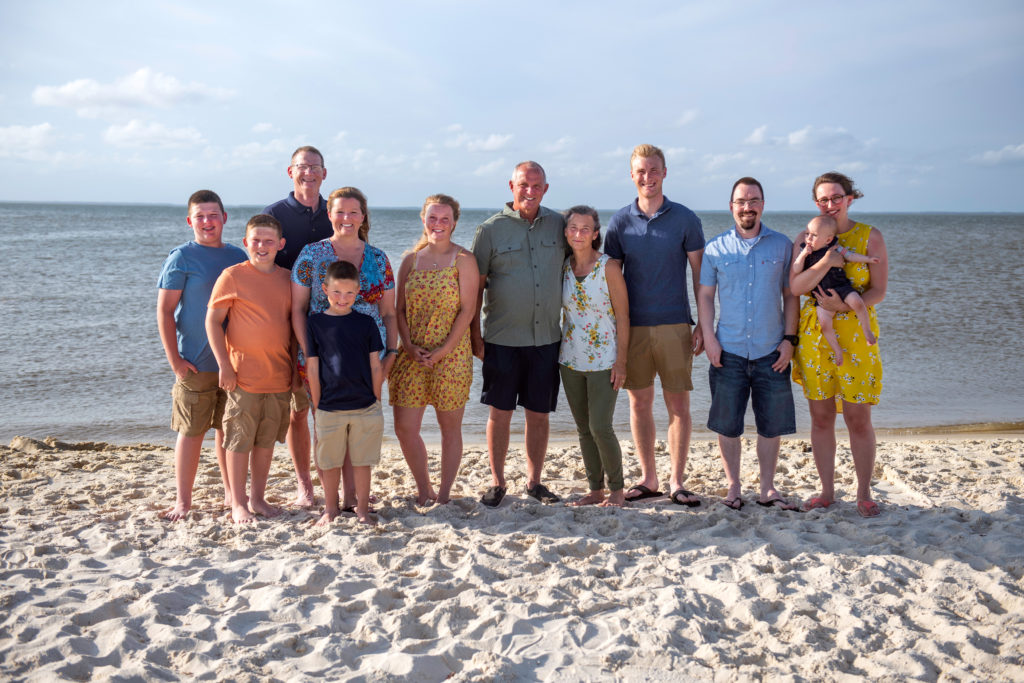
Beach Family Portrait
This was taken in Alabama on a fabulous vacation with my husband’s family. (I’ll spare you the long story about seaweed that goes along with this image.) We did this session a bit early in the evening so we didn’t push Walter’s bedtime too late, which meant the sun behind us was a bit intense and bright. In editing I worked on bringing down the exposure in the sky and water to get some detail back, brightening the subjects, and increasing vibrance and detail in the colors. I also had to remove a few people from the background.
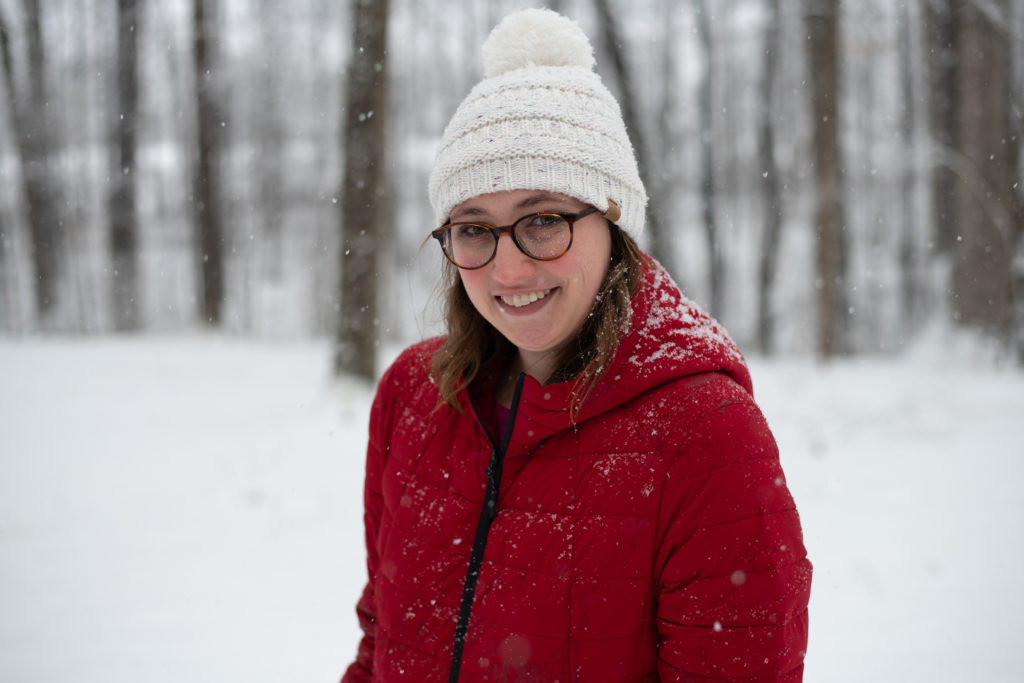
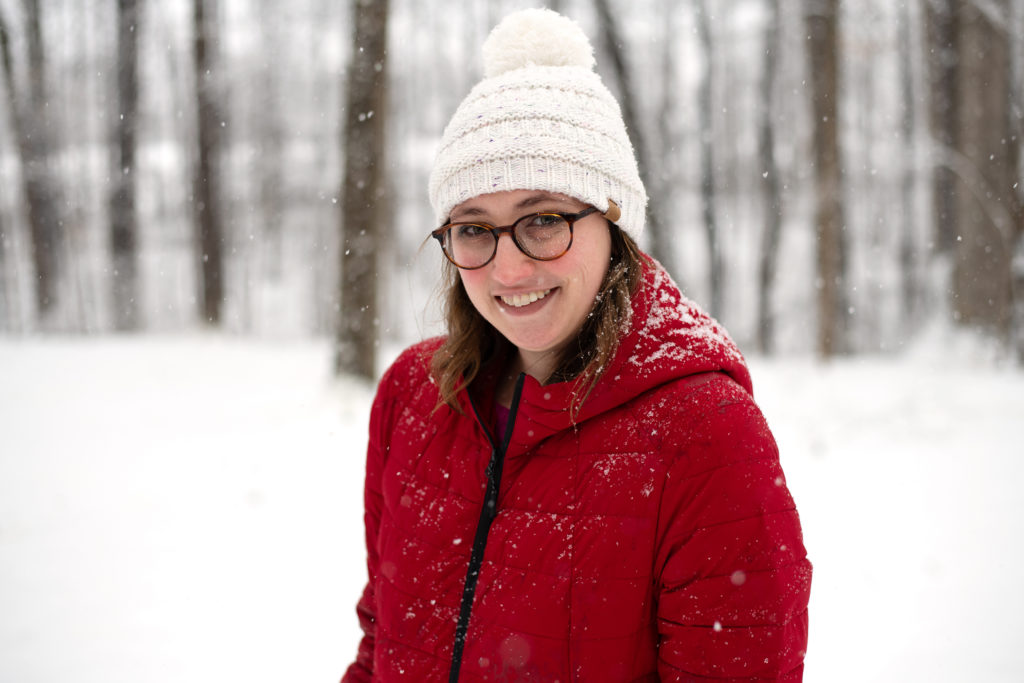
Snowy Winter Portrait
We had a huge snowstorm this past February, so I obviously had to get some fun pictures of myself while the snow was falling. Shooting in snow can be deceptively challenging because it’s so white and reflective. The original image here is a little underexposed, and the snow looks grey and dingy instead of white and fresh. I brightened the whole image, but especially the highlights, and warmed it up just a bit.
I hope this was a fun post as I shared a behind the scenes look at how my images change through the editing process. I need to remember to save a few unedited images from each session so I can share more posts like this in the future!
I’m coming up on maternity leave as we’re expecting our baby girl in early November, but I’ll be available for family or senior sessions again early next year. Feel free to contact me now if you’d like to get something booked in the spring!

leave a comment