Okay, I’ve convinced you. Having a tangible photo album of your family pictures sounds wonderful. But what now? Where do you even start? You have so many pictures on your phone or computer—how do you put them together in a photo book in a way that makes sense? It sounds time consuming and tedious. That’s probably why those pictures are still just sitting there in the first place.
I won’t mislead you. There is a bit of a time commitment involved—but it’s not hours and hours of tedious drudgery. It can be fun to relive some of your favorite memories as you’re putting a photo book together.
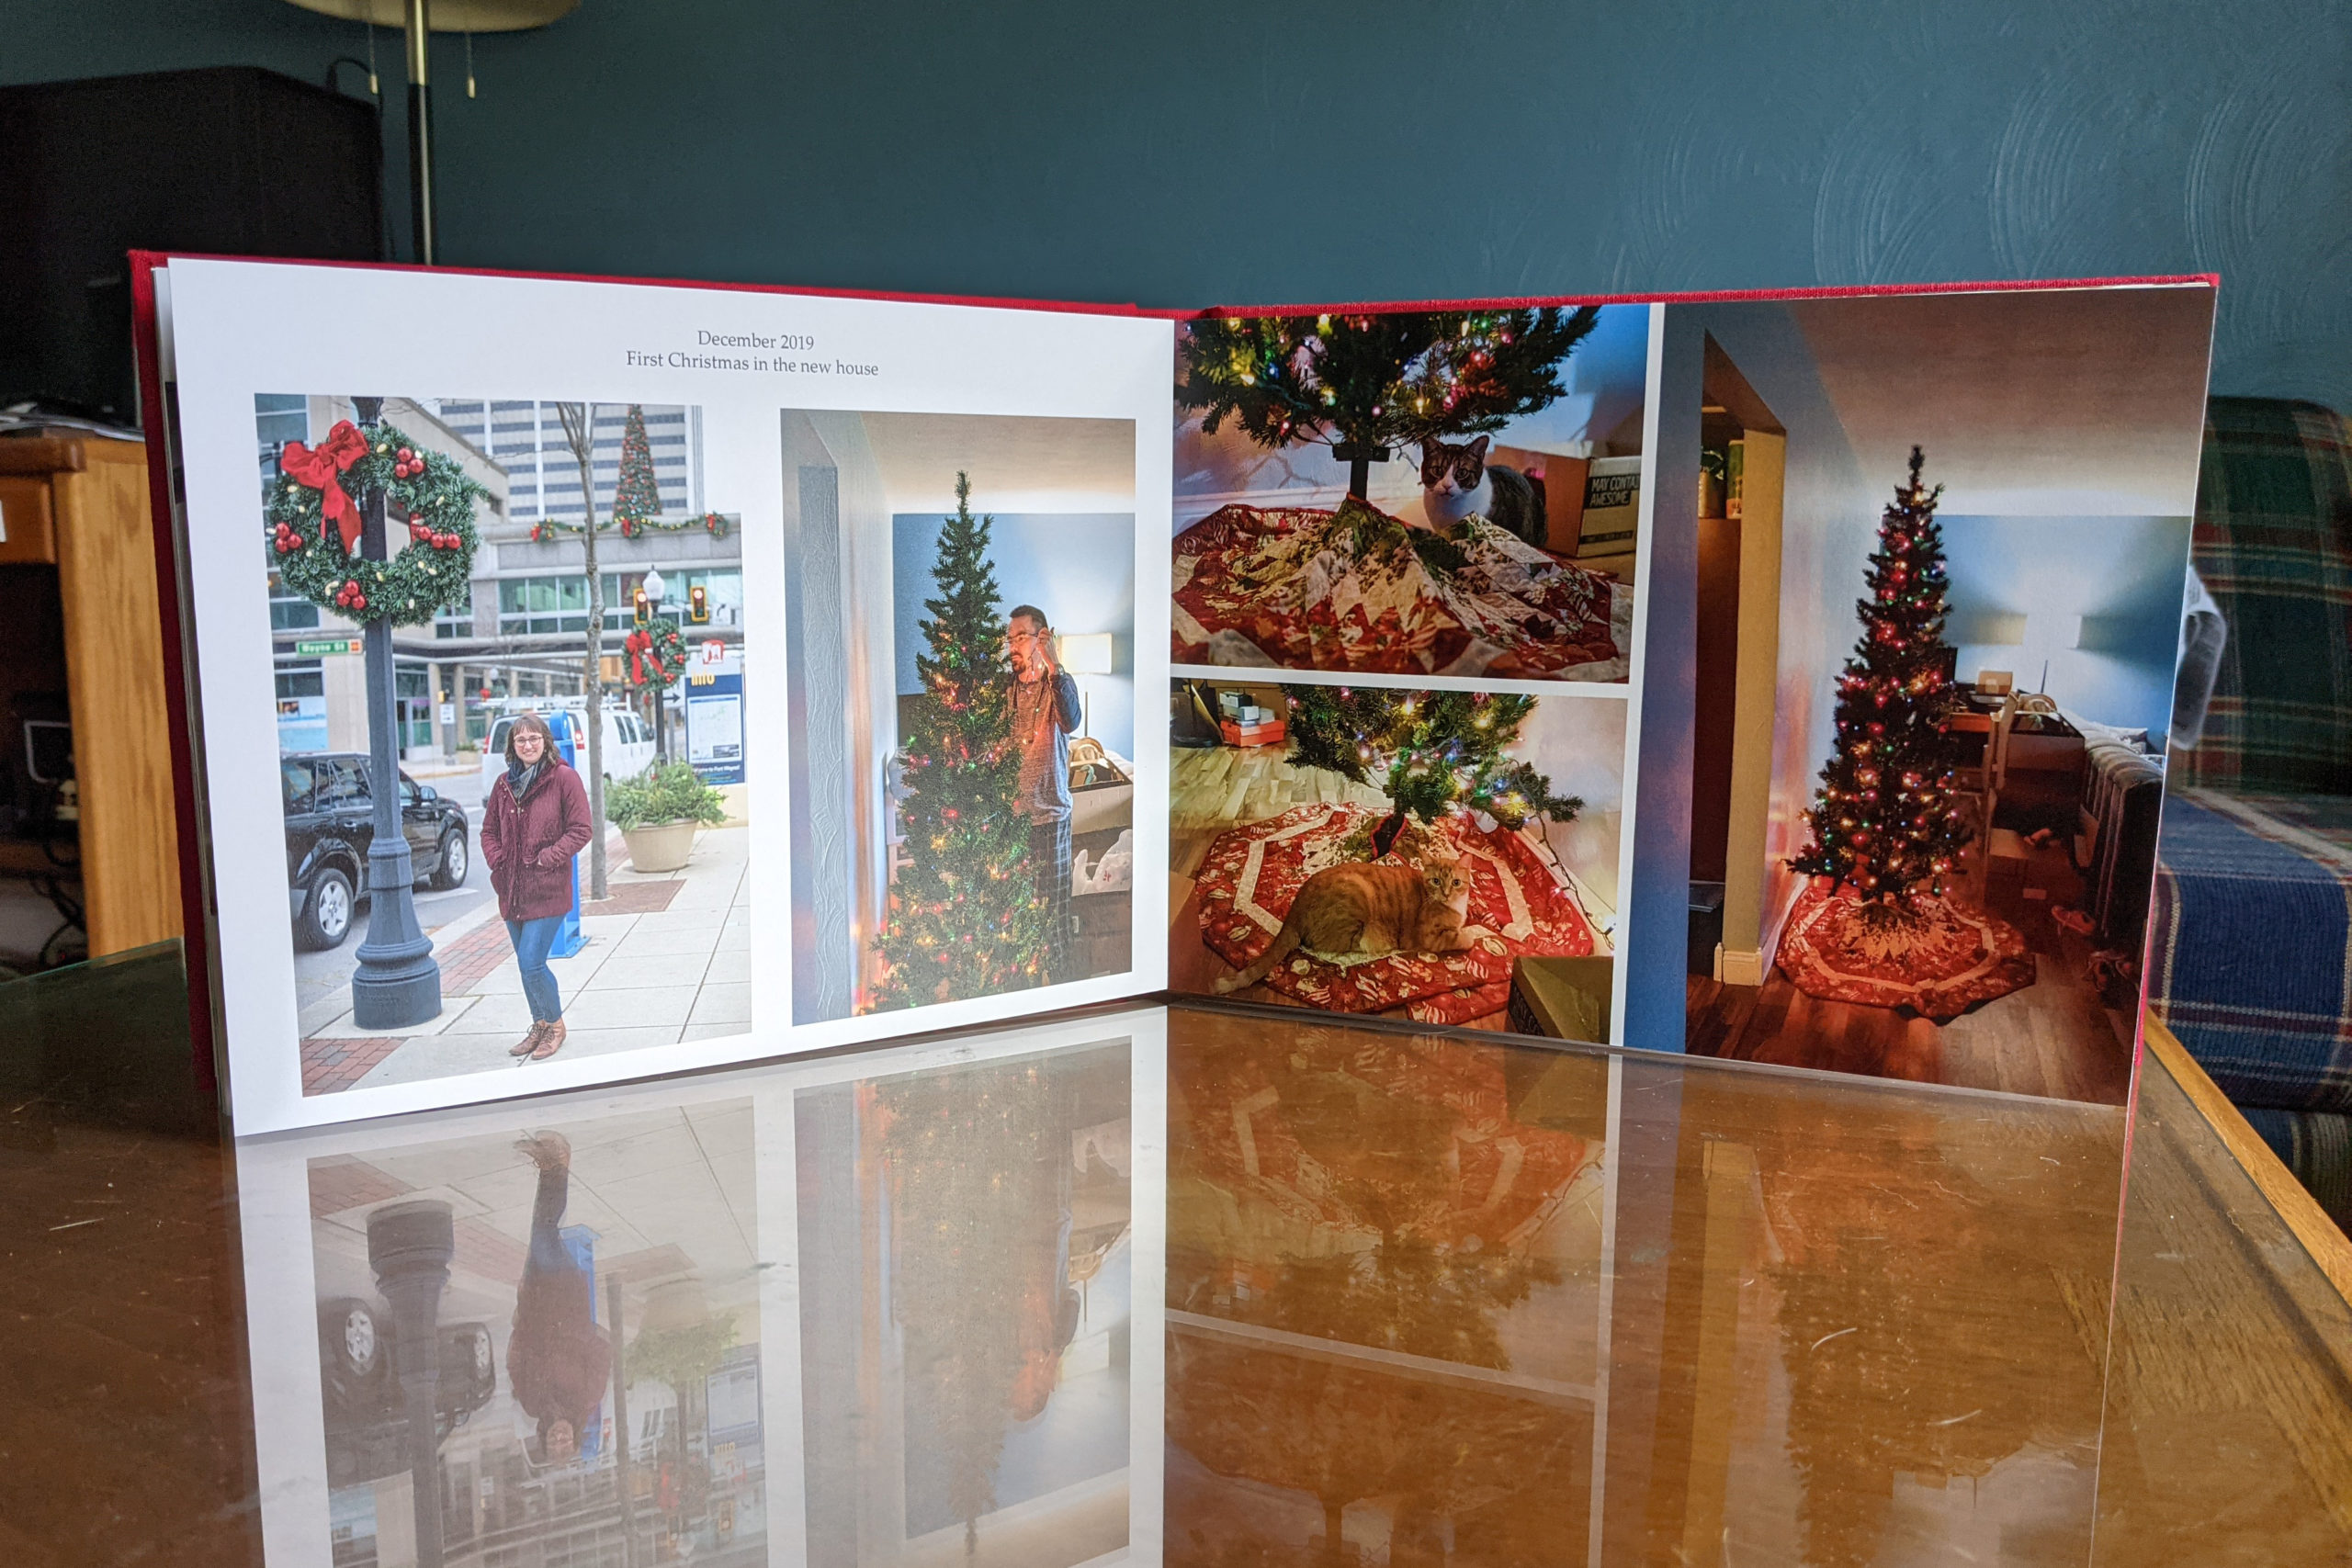
This post is an overview of how and where to create and print your first family photo album.
Select an online photo book creator.
There are plenty of online services for creating photo books with templates that make it easy to design your album. I will always recommend using Mpix.com. You can’t beat Mpix for quality, and they offer different styles of photo books at all different price points. You can spend anywhere from $20 to $500 (or more) depending on the style, size, and number of pages you choose for your album.
Start small.
Start with the most recent year and create a book that only includes photos from that year. This keeps the project small and manageable, especially if you have hundreds (or thousands) of photos stored in multiple locations. Then, as you have time, you can work backwards to get all the photos from previous years printed.
Gather and upload your photos.
If you’re using Mpix, the easiest way to do this is to create a folder for your photo book project. Mpix (and many other online services) allow uploads from either desktop or mobile, and some can even import photos from Facebook, Instagram, Google Photos, or Dropbox. Once you create a folder for the project, you can upload photos from multiple sources all to one place.
Choose album style and size.
Most online services will offer different styles of photo albums to meet different price points. More expensive books will likely be more durable, have more options available (like cover materials and colors), and just feel “fancier.” The best photo book for you is one that fits within your budget and will actually be printed and enjoyed!
Use templates to design your album.
Collage templates are available on most photo book creation sites to help you create page layouts. Just select a template, apply it to a page, then add photos to the template. You can also add titles and captions. You’ll have to do this for every page, but it goes pretty quickly once you get the hang of it.
Order your finished album.
When your album design is complete, add any finishing touches like a cover image or title and preview the pages to check for any errors. Then you just need to add your finished design to your cart and check out. Your photo album will ship right to you!
That’s the basic overview of how to create a photo album online. Like I said before, it does take a bit of time and dedication, but it won’t be hours and days and weeks before you see the fruits of your labor. In future posts I’ll go more in-depth with tips for design tips and best practices, tips for storing and organizing photos, and more.
Stay tuned for next week’s post: Tips for Designing a Photo Album!

[…] is another option, and there are plenty of others. And, as I mentioned in my previous post about Creating Your Own Family Photo Album, many online print services can import photos directly from these storage […]
[…] Creating a Family Photo Album: An Overview […]